- Home
- Super Sprouts
- How to Grow Sprouts
How to Grow Sprouts Using Jars, Bags,Trays and Sprouters
Intro | The Basics of Sprouting Sprouts | How to Grow Sprouts | Steps for Growing Sprouts | About Mold Growth | Precautions | Shop
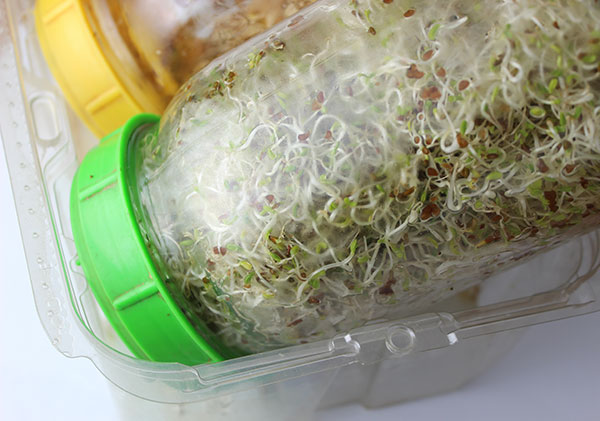
Want to learn how to grow sprouts at home for fresh living produce grown directly on a kitchen countertop? Here we discuss the basics to growing your own sprout varieties plus some tips and tricks we've learned during our 25 years of sprouting experience.
Sprouts thrive in most any indoor environment between 65-75 degrees and make a great alternative to outdoor gardening if you happen to live in an urban environment. The seeds themselves are very cost-effective for the amount of "sprout vegetables" they end up producing and are, in addition, very easy to store, remaining viable several years when stored appropriately.
Table of Contents
Intro | The Basics of Sprouting Sprouts | How to Grow Sprouts | Steps for Growing Sprouts | About Mold Growth | Precautions | Shop
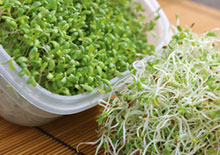
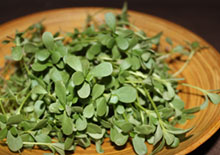
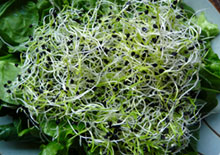
There are as many different types of sprouts as there are vegetables, some are just more suitable as far as flavor and texture goes. Certain seeds, like alfalfa, yield tiny sprouts with small leaves, while others can grow quite large providing a thick hedge of produce that can be snipped off and enjoyed as a salad green.
Usually grown in jars, bags or on trays using just water, a nutrient solution or a soil-based medium, sprouts require minimal tools and supplies. There is always the option of acquiring special equipment specifically designed for sprouting seeds, which can be particularly helpful if you enjoy sprout gardening on a regular basis.
Most dried vegetable seeds are not edible by themselves but happily sprout when given the water necessary to activate the process, commonly taking an average of 4-14 days depending on the seed type and how long you wish to sprout it. Many seeds can be grown also as microgreens which have larger leaves and a higher amount of chlorophyll content.
The Basics of Sprouting Sprouts
There are a few basic rules that usually always apply to any sprouting technique either at the beginning stages or throughout the sprouting process.
These include:
- Using clean sanitized tools and equipment
- Soaking your seeds
- Rinsing and draining
- Dehulling if necessary
- Providing adequate air flow
- Growing at appropriate temperature
- Greening the leaves in a light source
Different seeds have their own soaking, rinsing and temperature requirements as well as their own specific measurements per jar, bag, tray or sprouter. For more precise details for each sprout variety, please see our sprouting guide.
How to Grow Sprouts
1) Purchasing Sprout Seeds
2) Methods for Growing Sprouts
Purchasing Sprout Seeds
The first important step when learning how to grow sprouts is to purchase high quality seeds from an organic, non-bleached, non-GMO supplier that are tested for purity and germination rate. In our opinion, this is a crucial part of creating healthy, vibrant sprouts free of bacteria and potential molds.
We personally buy all our seeds from high quality certified organic seed merchants like True Leaf Market, Sproutman or Mountain Rose Herbs.
Using Quality Seeds for Sprouting Safety
Sprouts have received a bad rap in recent years because of Salmonella and E. coli contamination outbreaks that have occurred from consuming commercially grown sprouts sourced from non-organic seeds. The seeds themselves, however, were found to be the source of contaminants, traced back to the use of livestock manure directly on the seed-producing plant.
According to the Organic Farming Research Foundation, "Organic standards set strict guidelines on manure use in organic farming: either it must be first composted, or it must be applied at least 90 days before harvest, which allows ample time for microbial breakdown of pathogens." (Source)
For more information on this subject visit our Sprouts and Food Safety Controversy.
Methods for Growing Sprouts
1) Jar or Bag Sprouting
2) Vertical Sprouting Using a Sprouter or Mat
3) Tray Method Using Soil or Soil-less Medium
1) Jar or Bag Sprouting
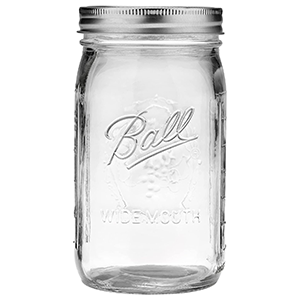
If you are new to sprouting, it is good to begin with a basic jar sprouting technique as it is the easiest way to understand the processes involved. This simply requires a wide mouth glass jar, but any jar will actually work. We tend to prefer 1 quart or half gallon mason jars, rather than smaller or larger sizes.
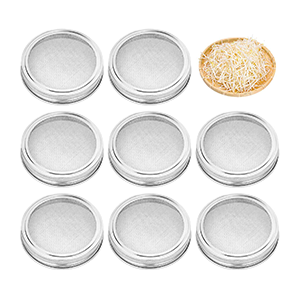
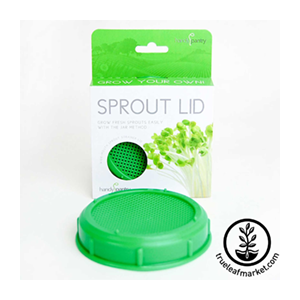
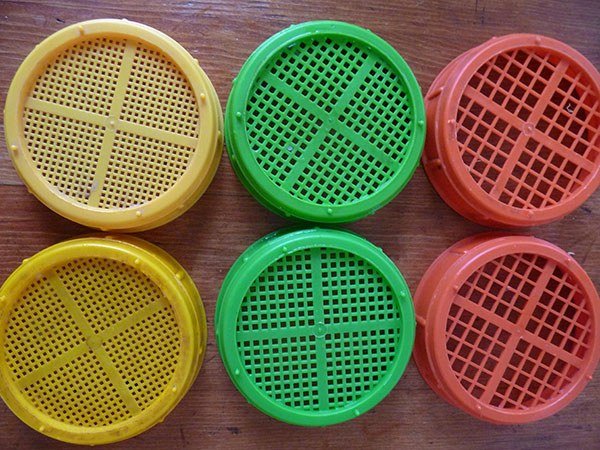
Mason jars are nice because you can purchase mesh screen lids with varying hole sizes, specifically designed for mason jars. These screens keep the sprouts appropriately ventilated with wider hole sizes as the seeds mature. Other jars with layers of cheese cloth or mesh screens over the top also work fine for draining the sprouts and provide needed air flow.
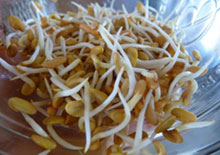
Hemp or nylon sprouting bags are another option in which the entire bag of sprouting seeds is soaked in water and then pulled out to drain. Bags are great for backpacking or travel and some people believe they are better than jars because they allow more air circulation which inhibits potential mold growth.
2) Vertical Sprouting Using a Sprouter or Mat
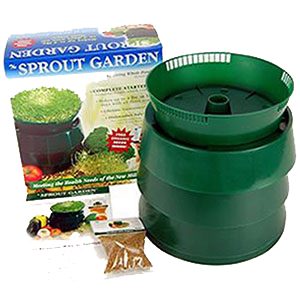
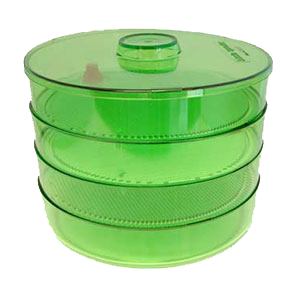
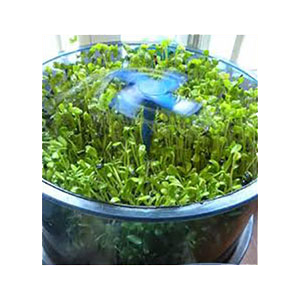
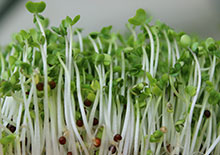
This technique employs the use of a sprouter. These are trays (usually round) designed specifically for sprouting seeds. They have small holes in the bottom and a tray for soaking the sprouts so they grow upright in a vertical fashion. This is why we call them "vertical sprouts" because their white stems are straight as oppose to jar or bag sprouts that are slightly curved and irregular.

Sprouts can also be grown in a similar fashion on grow mats or also called "blankets." These are thin (1/8 inch) durable sheets made from an organic medium that hold water very well and are easy to handle. The seeds sprout on the mat, which remains moist with the sprouts growing tall and upright.
3) Tray Method Using Soil or Soil-less Medium
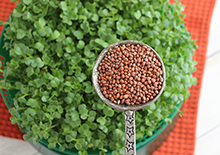
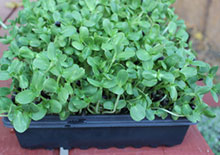
Many people commonly use 10"x10" or 10"x20" black growing trays when using soil or hydroponic medium, such as coconut coir or vermiculite. These are trays that come with or without holes and are a little over 2 inches (5 cm) deep. They are perfect for growing all types of microgreens and sprouts like pea shoots, buckwheat lettuce, sunflower greens and wheatgrass.
Steps for Growing Sprouts
1) Sprouting in Jars or Bags
2) Sprouting on Sprouter Trays
3) Sprouting on Trays as a Microgreen
Sprouting in Jars or Bags
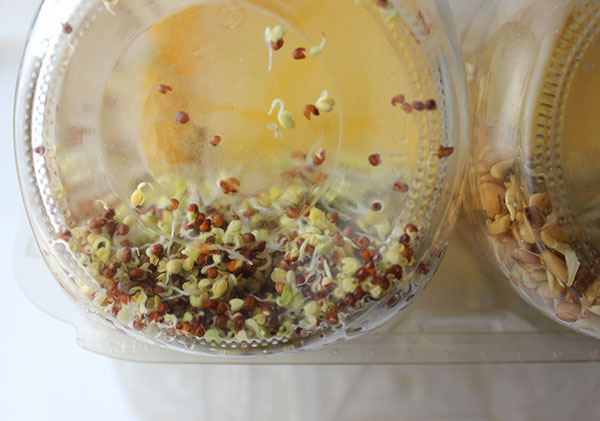
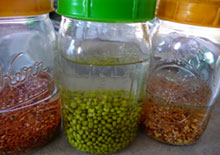
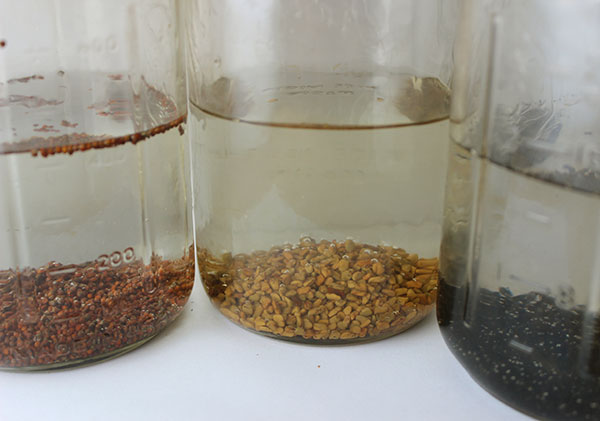
- Soak seeds for the required amount of time in a quart jar with half a quart of pure water. Cover with a lid or cloth to keep out dust and debris.
- Place a mesh lid or equivalent on the jar and strain out the water. Rinse one more time.
- Using a dish or kitchen dish rack, place the jar upside down with the mesh on the bottom, tilted at an angle to allow any water to drain out.
- Over the remaining time, which varies depending on your sprout variety, you will need to rinse and drain the sprouting seeds once or twice a day.
- To do this, fill the jar with enough pure water to cover the top of the seeds or sprouts and let them soak for 1-2 minutes.
- Turn upside down to strain until the next rinsing session.
- As the sprouts develop you should also stir them when soaking, using something like a chopstick to break up any clumping and to increase air flow.
- At some point you will need to remove the seed hulls on some varieties, like alfalfa, broccoli, clover for example. This can be accomplished by removing the sprouts from the jar and placing them in a bowl full of water. Stirring them gently will allow most of the seed hulls to float to the top for easy removal. Carefully place the sprouts back into the jar and continue to drain.
- When the sprouts produce a set of leaves, you can further "green" them by placing them in a sunlit window or mild direct sunlight.
Bag Sprouting
- Soak seeds overnight in a quart jar with half a quart of pure water. Cover with a lid or cloth to keep out dust and debris.
- Place seeds in a sprout bag and continue to rinse and drain as above by immersing the bag once or twice a day in water for 1-2 minutes.
- Hang to drain or place in a strainer in a sink or bowl.
Sprouting on Sprouter Trays
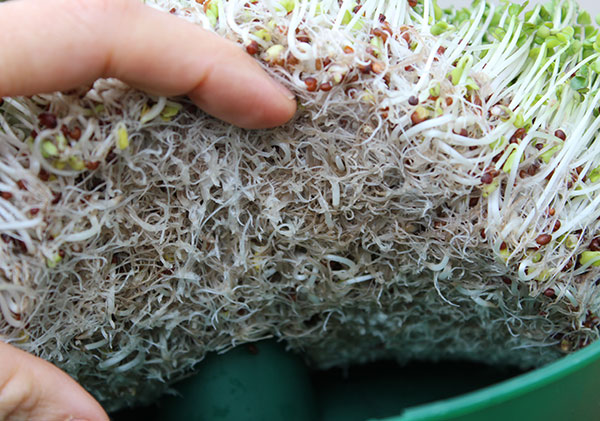
- Soak seeds in a jar for the required time necessary depending on the seed type.
- Strain and rinse.
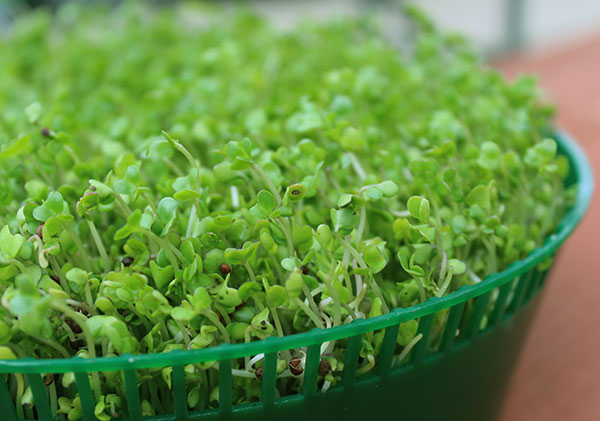
- Place them on a sprouter tray with holes and a basin tray underneath to collect water and an upside down tray on top to cover.
- Once or twice a day, turn over the basin tray and fill it with water to immerse the sprouter tray for 1-2 minutes.
- Drain sprouter tray on an upright basin tray and cover.
- When the sprouts produce leaves, remove the lid and allow to "green" in a sunlit window or mild direct sunlight.
- Continue to rinse and drain daily until mature.
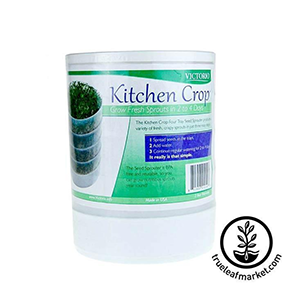
All commercial sprouters are a little bit different, some are grown in stacks. These directions we offer are generally the required procedure, but it is a good idea to follow the instructions that come with each particular model.
Sprouting on Trays as a Microgreen
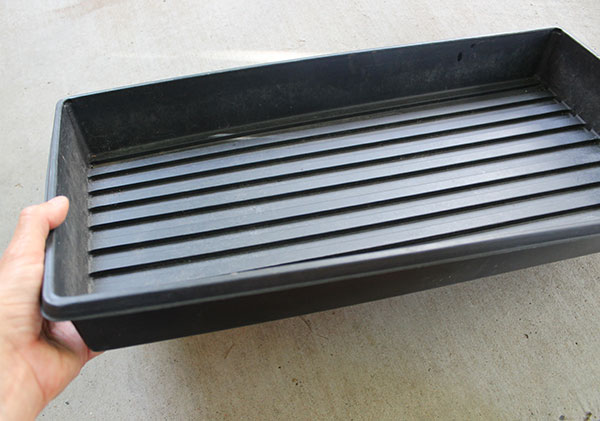
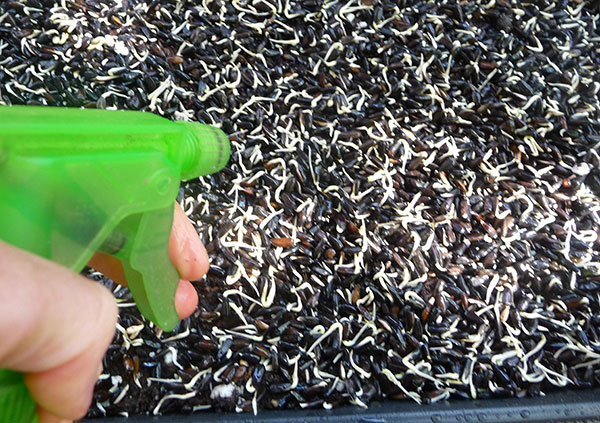
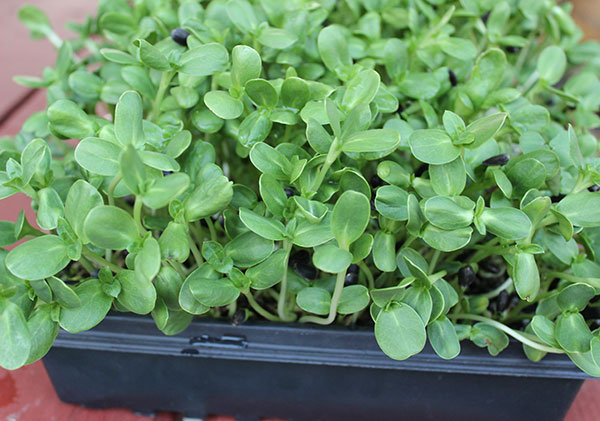
- Soak seeds overnight in a quart jar with half filled with pure water. Cover with a lid or cloth to keep out dust and debris.
- Place a mesh lid or equivalent on the jar and strain our the water. Rinse one more time.
- Turn the jar upside down tilted at an angle to sprout them and allow excess water to drain out.
- Repeat this procedure once or twice daily.
- Usually after 1-3 days, depending on the seed and temperature, tiny white sprouts will begin to emerge from the seed.
- (For sprouting grains like rye, quinoa, hulled buckwheat or wheatberries to be used in recipes, this is the completed sprouting process.)
- Place 1-2 inches (2-5 cm) of soil or other soil-less medium in a 10"x 20" growing tray without holes.
- Moisten the soil slightly with water, but do not over water, this is evident when the weight of the tray is very heavy.
- Lay down the sprouted seeds ON TOP of the soil and cover with a 10"x 20" growing tray with holes and place in a dark location at an appropriate temperature.
- Continue to mist the top of the sprouts every day with pure water.
- Remove the lid when the sprouts hit the top.
- At this point, they will have yellow leaves and you will need to "green" by placing the tray near a sunlit window or in mild direct sunlight.
- Water the soil every day, making sure not to over-water, which can cause mold growth at the base of the sprouts.
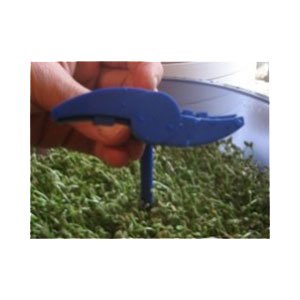
- Harvest the sprouts by clipping above the seed level.
How to Prevent Potential Mold Growth
Mold spores can be present on the seeds themselves. That is why it is exceedingly important to purchase quality seeds. Molds are also encouraged by hot humid climates and other factors, like over-watering. When growing sprouts it is important to make sure there is adequate ventilation and air circulation.
Blending Seeds
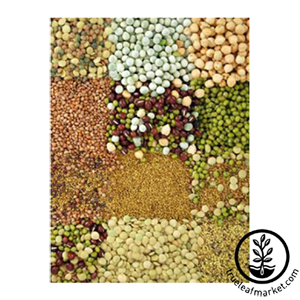
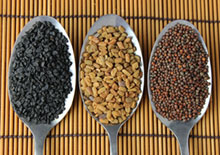
When learning how to grow sprouts we recommend you start with sprouting one type of seed at a time until you get down the process. As you gain experience, you can experiment with blending your own seed mixes using a combination of uniquely spiced and flavored sprouts, like onion, radish, broccoli or fenugreek. Some suppliers also sell pre-made sprouting seed mixes.
Here is one of our basic seed mix recipes.
Seed Mix Recipe
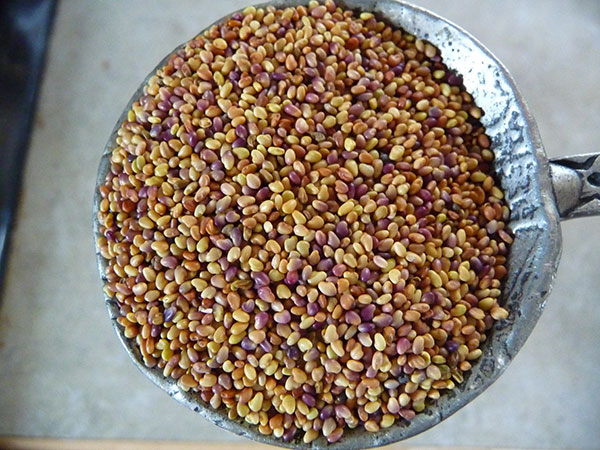
Ingredients:
This recipe is for 4 cups of seeds which can be stores in a 1 quart mason jar.
- 1/2C clover seeds
- 2C alfalfa seeds
- 1/4C fenugreek seeds
- 1/4C radish seeds
- 1C broccoli seeds
Directions:
- Mix your seeds using the above recipe in a big bowl.
- Place in a quart size mason jar.
- Use 2T of seed blend per 1 quart mason jar or a small 8"x8" round sprouting tray.
Buying Seeds in Bulk
We always recommend buying sprouting seeds in bulk by the pound. They are much less expensive and good to have in your pantry as a backup for other salad greens. Most seeds when stored in glass airtight jars in a cool dark location will remain viable for several years.
Sprouts are a the perfect survival food and the seeds, although they produce pounds of produce, hardly take up any storage space. Bulk seeds can provide months or years worth of sprouts and are a good investment for your money!
Learning how to grow sprouts may be especially appropriate in the winter months when less fresh produce is available. Most sprouts adapt well to most indoor climates and living spaces.
Precautions:
When sprouts are grown inappropriately they can be contaminated with mold, which is especially detrimental to those with mold allergies. It is important to purchase commercially grown sprouts from a trusted organic source that takes precautionary steps to guard against mold and/or uses organically grown seeds to prevent potential Salmonella and E. coli contamination.
Shop Related Products (About Affiliates & Amazon Associate Paid Links)
Affiliate Disclaimer: This section contains affiliate product links. If you make a purchase through our recommended links, we receive a small commission at no additional cost to you. Thanks for the support.

