- Home
- Fermented Food Recipes
- How to Make a Kombucha Scoby
How to Make a Kombucha Scoby From Scratch
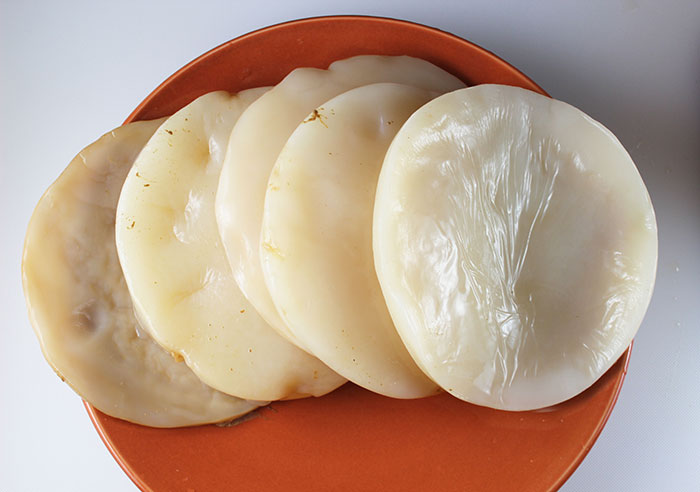
Want to learn how to make a kombucha scoby from scratch so you can make your own homemade kombucha? If so, you will need a scoby, also referred to as a "kombucha mushroom" or "kombucha mother culture."
We've literally been making our own since the late 80's, so we do have quite a bit of experience with this procedure. Back then, kombucha was not found in stores like it is today, nor were scoby cultures available for sale. You had to basically get a "mother" and liquid starter from a friend (or friend of a friend of a friend in some cases). It was more of a community affair.
Since commercial varieties are so popular these days, making it from scratch is much easier. All raw "alive" unpasteurized kombucha will always contain small amounts of the scoby culture. Ever seen those loose blob-like strands floating around in your store-bought bottle? This is a scoby beginning to form. If allowed to grow under the right conditions, it will eventually make a new layer.
So, any purchased bottle of raw kombucha can be used as a starter culture to grow another one. Although it is a bit like a science project, it is quite a fun and very a satisfying DYI way to make your own homemade variety.
Tips When Selecting Commercial Kombucha Starters for Making a Scoby
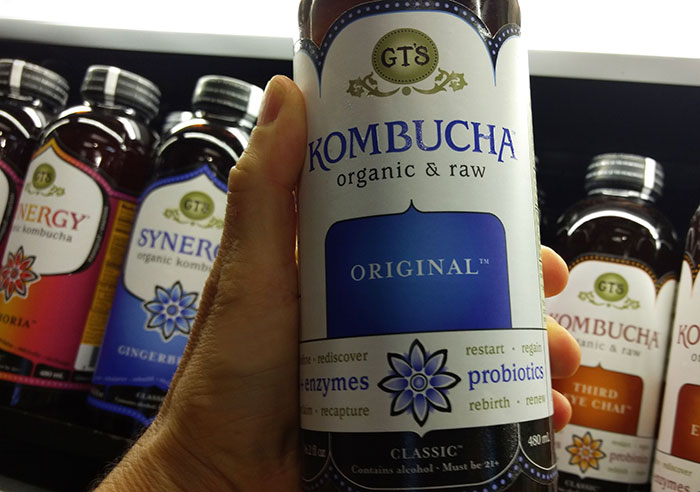
- It is important when purchasing your commercial kombucha that you select a variety that is active with live cultures. Look for brands that have visible pieces of scoby starter at the bottom of the jar.
- Some kombuchas on the market, like GT's kombucha, are classified by alcohol content. Best to choose ones with higher alcohol percentages (like their "Classic" variety) as they are fermented longer and have more mature cultures present.
- Always choose a plain kombucha product not a flavored one.
The Scoby Growing Process
Growing your own scoby will take a bit of time, however, usually
between 2 to 3 weeks, depending on room temperature. In our opinion,
lower temps around 70°F (21 °C), that allow the scoby to slowly develop,
are preferred as they produce a better end result.
It works in much the same way as other culture starters like koji used to make miso, the Rhizopus oligosporus spores used to make homemade tempeh or kefir grains are used to make kefir.
Visit our kombucha pros and cons page to find out more about its benefits and potential side-effects.
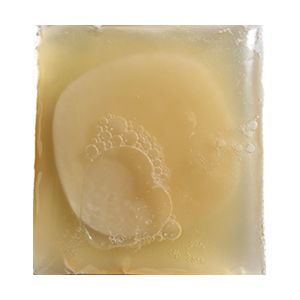
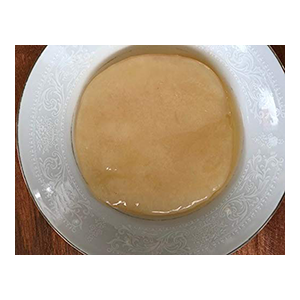
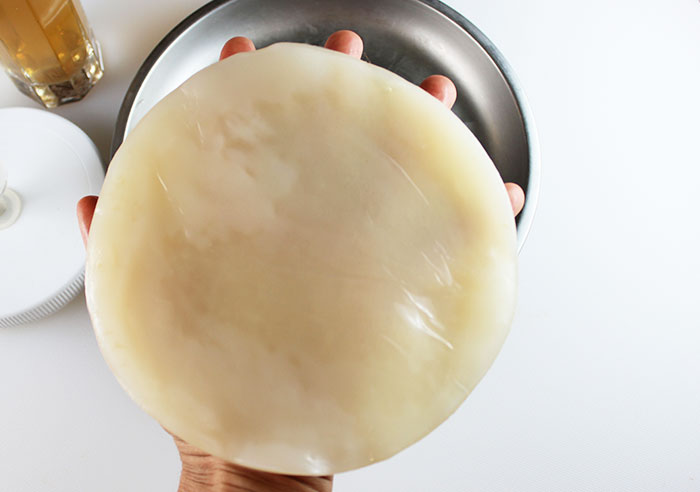
It takes about a few days to start to form blobby bits at the bottom of the jar that will then over a week or more float to the top and initially form a very thin film layer that takes the shape of whatever your growing it in. Over the next week or two it slowly starts to bubble, thicken and develop a dense rubbery texture.
Once you've created your very own scoby you can use it to make a fresh batch of kombucha. New layers will continue to grow during fermentation and make more scoby's for you to peel off and reuse. Or, give as gifts!
The layer on top is the newly formed scoby, the "baby", and the bottom layer is considered the "mother". Either can be used, generally the better looking one however is on the top, but not always.
How to Make a Kombucha Scoby: The Process
- Will start to bubble slightly after a few days.
- Strands of culture with collect at the bottom and then float up to the top.
- A thin jelly-like film will begin to form on the surface, molding to the shape of the jar.
- This layer will thicken over 2-3 weeks creating an opaque rubbery texture that is about 1/4 an inch (6.35 mm) thick.
- A scoby is born and ready for making your very own homemade kombucha!
What Does a Scoby Do?
The term SCOBY officially stands for Symbiotic Colony of Bacteria and Yeast. It essentially encourages the lacto-fermentation process in which it feeds off the sugar and caffeine in the initial tea liquid, a dynamic that changes microbial composition and produces the health-enhancing components that kombucha is known for. (*)
This includes the list of phenolic compounds such as gluconic acid, lactic acid, glucuronic acid and acetic acid as well as probiotics, enzymes, B vitamins and other various nutrients. The scoby and its byproducts of fermentation are responsible for the tangy flavor and slightly fizzy taste.
The scoby also of course helps to create a anerobic environment as well as helps to protect and seal the fermenting tea liquid from outside contaminants and potential air-borne bacteria.
How to Make a Kombucha Scoby
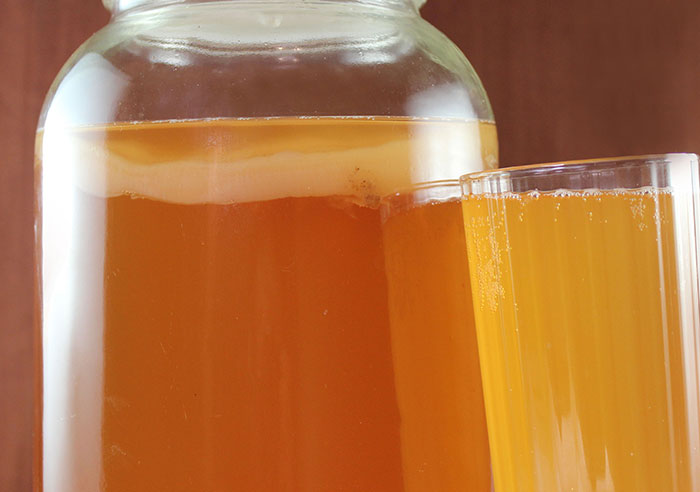
This homemade scoby recipe is not for making actual kombucha that you will later drink. It is strictly for making the scoby itself. Because you want a nice thick layer at least 1/4 inch (6.35 mm) thick, it is best to reserve this batch just for this purpose.
This is because sometimes the process of forming the gelatinous mat will end up taking longer than it takes to actually ferment the kombucha. In which case it would become too acidic to actually drink, forming a vinegar rather than the type of kombucha you might enjoy.
However, if you're planning on making kombucha after you've made your first kombucha scoby, then you can set aside 1 1/2 cups of this liquid to use, along with the scoby, as a starter for your new brew.
We use a short half gallon glass jar with a wide mouth for this recipe, which will grow larger size scoby. You can use any size glass or ceramic jar as long as there is about an inch of space at the top.
Ingredients:
- 2C active raw commercial kombucha
- 5C pure water
- 1 1/2T black tea (or 4 tea bags)
- 1/2C raw cane sugar
Directions:
- Boil 3C of water in a pot.
- Turn off heat and add loose leaf tea or bags.
- Allow to steep for 20 minutes.
- Strain out tea into a clean half gallon jar and then add sugar, stir to dissolve.
- Add the remaining 2C water.
- Mix in 2C commercial kombucha. It is best to leave the bottle out overnight, so it is about room temperature when you add it to the scoby making recipe.
- Place a breathable cotton cloth over the top of the jar and secure with a rubber-band.
- Set your jar in a pantry or cupboard space out of direct light.
- Wait and allow it to "do its thing."
You won't need to do much during the growing process. Just check it every few days to make sure it looks normal.
Normal Signs of Scoby Development:
- Bubbles forming throughout
- Bits of floating strands
- Thin film layer on top
- Strong vinegar-like smell
- Opaque smooth scoby surface
- Bumpy surface with transparent parts
If at any point the scoby starts to develop mold or smell off or cheese-like, it has been contaminated and should be thrown out.
When Your Scoby Is Done
Again, it should be at least a 1/4 inch (6.35 mm) thick before you use it to start a fresh batch of kombucha tea. This can take up to 3 weeks or more depending on your room temperature.
If you're not quite ready to make kombucha with it you can leave it in the jar, it will continue to grow more layers that you can also peel off and use.
Note: Sometimes the next layers develop better after the initial one is formed.
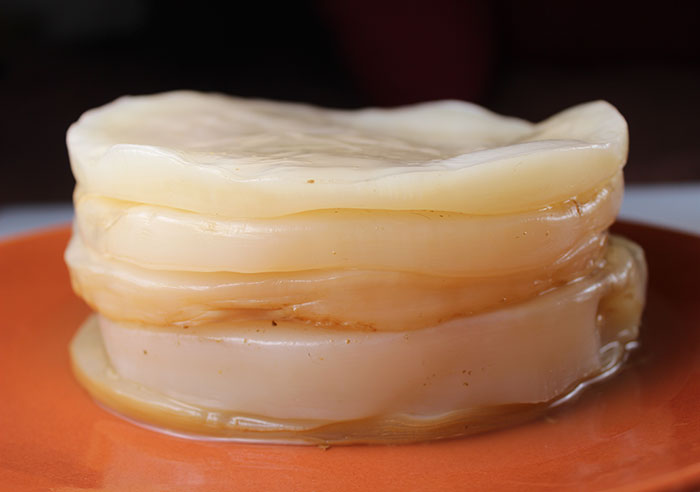
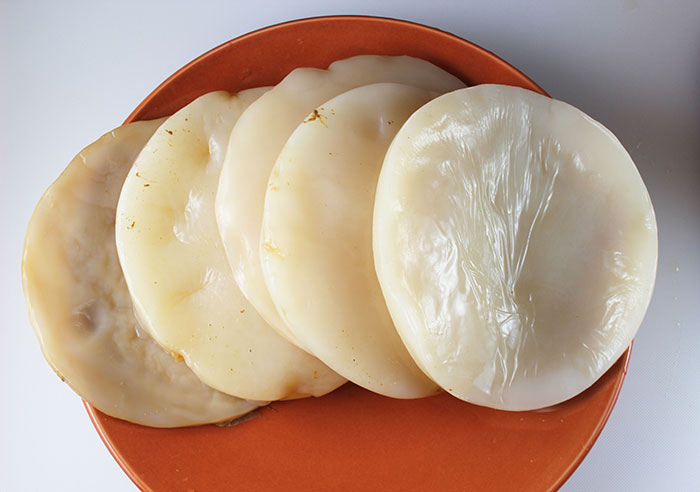
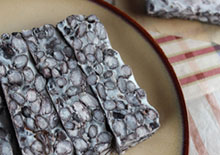
Got too many scoby's you don't know what to do with them all? Try using them in our dehydrated scoby candy recipe for a gummy sweet treat that tastes like ginger chews.
Visit some of our other fermented food recipes and others using kombucha, like our kombucha mojito mocktail.
Precautions:
Individuals with sensitivities to alcohol, even in small quantities, should avoid consuming homemade as well as commercial kombucha if it states alcohol content on the label. It is best to avoid fermented foods and drinks if you have severe allergies to molds.
Shop Related Products (About Affiliates & Amazon Associate Paid Links)
Affiliate Disclaimer: This section contains affiliate product links. If you make a purchase through our recommended links, we receive a small commission at no additional cost to you. Thanks for the support.

