- Home
- Fermented Food Recipes
- How to Make Tempeh
How to Make Tempeh, A Basic Recipe for Beginner's
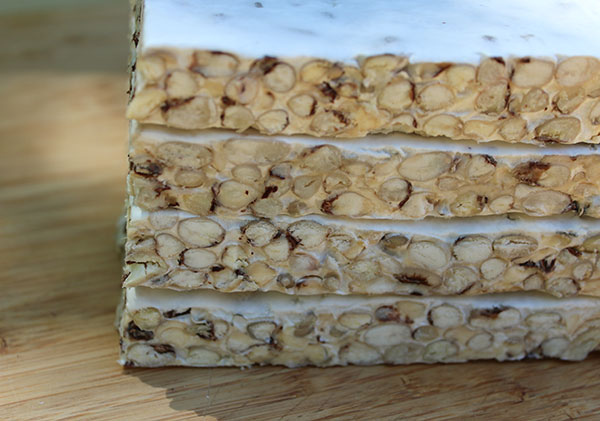
Learning how to make tempeh yourself with a few simple supplies, ingredients and a tempeh-specific Rhizopus starter culture, is a very satisfying endeavor. It will not only reward your taste buds with the supreme flavor that freshly made tempeh provides, it is also considerably more cost effective than buying lower quality packaged varieties.
Once you get down the basic process, it is a quick and very easy food to prepare at home and will be immensely superior to what is currently commercially available in most American health food stores.
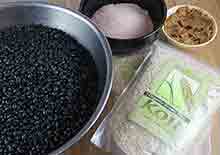
For this basic "how to make tempeh" recipe, we use black-eyed peas as an alternative to the traditional soybean. They are a great one to start with for beginners as they don't take very long to cook and are closer in size and flavor to the soy-based tempeh's you may be accustom to eating.
In this recipe we use the most foolproof and convenient way to make tempeh using a ventilated food-grade plastic bag. Although the use of plastic is not our first choice, because of potential leaching, it is most definitely the easiest way to make it at home, especially if you have never tried to prepare it from scratch.
One of the most challenging parts about making homemade tempeh is that it needs to incubate at a consistent temperature of between 85-90°F (29-32°C). Ultimately, 88°F (31°C) is ideal.
This means you need to devise some kind of incubation chamber in which to maintain a nice even temperature throughout the relatively short fermentation period of between 24 to 36 hours.
Homemade tempeh also needs some air flow around it, not too much or too little. This means that your chamber must also be ventilated, which will stop excess moisture from building up as the tempeh gets warmer.
While this might seem a little overwhelming to the tempeh-making newbie, it is well worth the time and effort spent in getting acquainted with this process.
Once you are able to control and achieve a successful incubation atmosphere, your usually set for making fresh tempeh any time of year.
(For more on tempeh and its health benefits, visit our tempeh page.)
How to Make Tempeh for Beginners
1) Purchase a Temperature Controlled Heating Pad
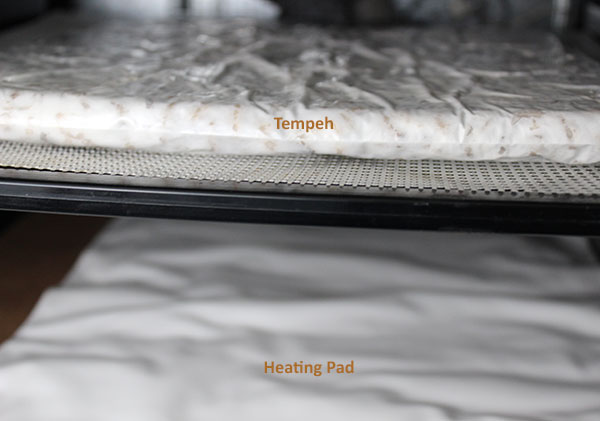
Heating pads are one of the best and most convenient ways to heat your incubation chamber.
Most have low, medium and high settings to help ensure the proper heat range, allowing you to lower or increase the temperature depending on the indoor temperature of your living space or season of the year.
2) Choosing an Incubation Chamber
One of the most basic incubation chambers, if you happen to own one, is an Excalibur dehydrator. The 9-trays are the perfect size, but 5-trays will also work. Both provide for good air circulation. You won't be turning it on, however, because this would dry it out too much. The dehydrator is rather used as an incubation space with the tempeh on a top tray and the heat source on the bottom. The distance between the two can be altered depending on the room temperature.
The next best options, although more involved, are either a storage tote or cooler/ice chest, preferably with air holes punctured around the sides and lid, however, this is not always required. To provide for adequate air flow around the culturing tempeh, secure a mesh screen close to the top, above the heat source.
We have also successfully made tempeh in a warm cabinet space that is up high where heat tends to rise.
(For more incubation ideas please see our garbanzo bean tempeh recipe page.)
There are no ways around it, you simple need to experiment, and sometimes there is a learning curve when it comes to this process. Be patient, it will be worth it in the end when you can make pounds and pounds of delicious fresh homemade tempeh for you and your family.
3) Using a Thermometer
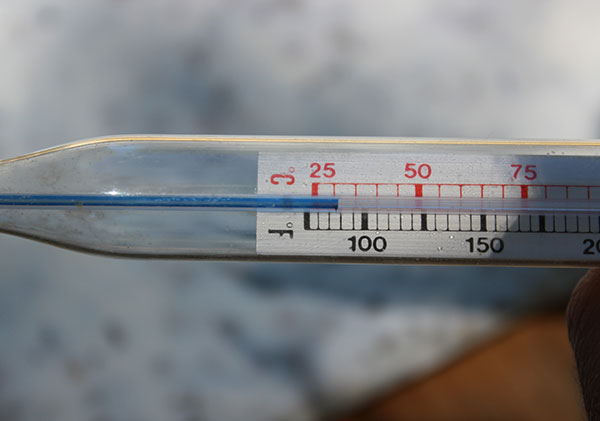
It is a must to use a thermometer so that you are intimately aware of the temperature during all phases of fermentation. This tool is used to measure the atmospheric temperature of the incubator space, not the actually tempeh itself. Most any food thermometer that shows lower range temps will work for this purpose.
Essentially you will get the temperature up to 88°F (31°C) then monitor it every few hours, appropriately adjusting the heat control if needed. Although it might seem like overkill, there are actually thermometers that you can set to a certain temperature that will trigger an alarm when it goes over a that preset temperature.
At night it is obviously harder to monitor your tempeh making progress. If you are unsure what temperature setting to leave it on while sleeping, select the lower control. Tempeh, as it cultures, will generate its own heat and will be less sensitive to lower temps, but more sensitive to higher ones. Generally, by the time you are ready for bed rest, the indoor temperature should be fairly stable and not move around too much during the night.
4) Plastic Bag Mold
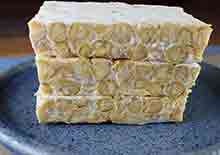
Tempeh takes the form of whatever you're using to ferment it in. Whether this is a round, square or oblong container, when mashed down to create a flat cake, in about 24 hours it will be a solid block that will be the same size and shape.
We use a container method when making our black bean tempeh recipe, but for this basic "how to make tempeh" recipe we use a 10 ½" by 10 ½" square food-grade zip lock bag. This bag must be punctured with holes to allow for some air flow. The easiest way to do this is to take a fork and push it through both layers of the bag every 1 ½-2 inches. It doesn't have to be perfect, the idea is to space the holes out as evenly as possible throughout the entire surface.
5) The Dehulling Process
The process of removing the hulls can be one of the most painstaking and time consuming aspects to making homemade tempeh.
In order for the beans to be adequately broken down and cultured by the Rhizopus mold spores, they need to be "dehulled." This is a procedure that removes the thicker layer of outer skin that is naturally present on most beans you will buy in bulk quantities. While the hulls don't necessarily need to be completely removed, it is a good idea to try to loosen them to ensure space for the culture to enter the center of the cooked bean.
Black-eyed peas tend to lose their hulls quite easily when soaked overnight, then rubbed briskly the following day. Many will float to the top of the water surface where they can be removed or will lose hulls after the cooking process.
From our personal experience we have found that it is not completely necessary to remove all of the hulls. If some are remaining in your tempeh mix, they just add more fiber content and will not inhibit Rhizopus mold from forming.
While some tempeh-maker's feel that the more hulls that are removed the better
tasting the tempeh, we don't necessarily find this to be the
case over the years of making both varieties.
As a second option, slightly processing the cooked beans in a food processor can also eliminate the need for the dehulling procedure.
The main thing is that you don't want the hulls completely surrounding the entire surface area of the bean, which will act as a barrier to the spore culture and prohibit it from predigesting the legumes nutrients. This process is important because it breaks down the proteins into more bioavailable amino acids and reduces certain "anti-nutrients" that make beans hard to digest for some individuals.
6) Purchasing a Tempeh Starter
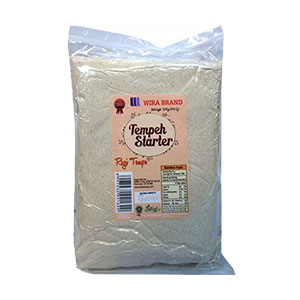
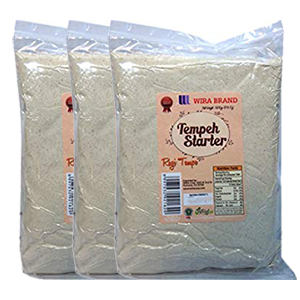
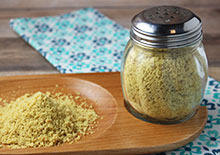
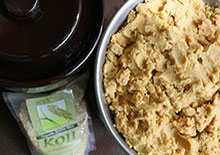
Most all tempeh starters are only currently available through online suppliers. It is good to try to purchase a high quality tempeh starter that contains a combination of both Rhizopus oryzae and Rhizopus oligosporus spore species. We have personally found we like Indonesian varieties over American produced starters.
You can currently get 100 grams of Indonesian starter for less than $17. This powder can be kept in the fridge or freezer for continued use and will make over 100 lbs pounds of tempeh. Usually there is an expiration date on the product, but we have found that most last up to several years when stored appropriately.
7) Other Miscellaneous Tips
Clean Tools and Environment - As with any fermented food creation, it is necessary to thoroughly sanitize your tools in hot soapy water, to the best of your ability, and provide a clean environment for them to ferment accordingly.
Drying the Cooked Beans - It is best to dry the beans after they have been cooked and cooled to remove excess moisture. This can be done by laying them out on a clean flat surface and with drying them off with a clean dish towel.
Thickness of Tempeh - When making tempeh for the first time, it is best to form your cake not more than ½" (1 cm) thick. This will help it to inoculate faster, quickly spreading the white mycelium and binding the legume mix.
Length of Fermentation Time - Tempeh is often well-cultured after about 24 hours. However, some people prefer to ferment it for closer to 36 hours which will usually activate the beginning stages of sporulation, a process that can increase flavor. This is identifiable by dark patches near the punctured air holes.
Black-Eyed Pea Tempeh Recipe
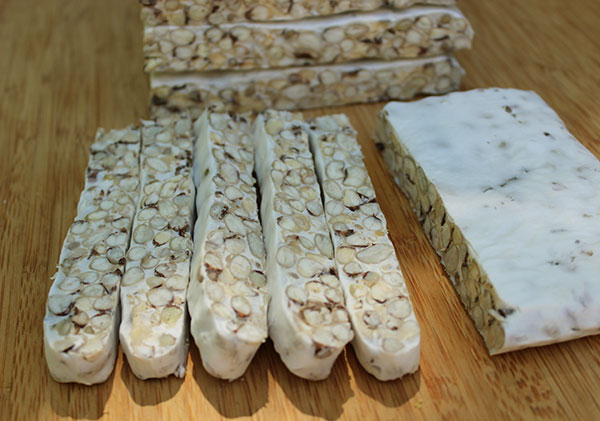
Black-eyed peas, also called cowpeas, are a great bean to start with when you're new to making homemade tempeh. Almost the size of a soy bean, they are very similar in shape and texture. They also cook up relatively fast when soaked.
According to Nutrition Data 1C of cooked black-eyed pea contains 13.3g of protein and supplies 89% daily value for folate and 23% for thiamin, based on a 2000 calorie diet. They are additionally a good source of the minerals iron, manganese, magnesium, phosphorus, copper and zinc. (Source)
Ingredients:
- 2C dry black-eyed peas
- 1 ½T apple cider vinegar
- 1 ½t tempeh starter powder
Directions:
- Soak the beans overnight in pure water and rub vigorously with clean hands to help loosen the hulls
- They next day, rub the beans again, removing any that float to the surface.
- Strain and rinse the beans and place in a crockpot or stove pot and cover with an adequate amount of water.
- Allow to cook on medium heat for about 30-45 minutes, or until just slightly underdone. You want them soft enough to bite into but not too soft that they lose their shape.
- Remove the pot lid and skim off any hulls that have floated to the top.
- Strain the cooked beans in a strainer and allow to cool to body temperature or until warm to touch (not to hot or too cold).
- While they are cooling, prepare your incubator space so that it is at the appropriate temperature.
- Dry off cooked beans with a clean towel to remove excess moisture by laying them flat on a clean surface or wide bowl.
- Place the cooled beans in a bowl and, with a potato masher or fork, mash up a small amount of beans (about ½C).
- Mix together whole beans and mashed beans.
- Add apple cider vinegar and stir with a spoon to incorporate.
- Thoroughly mix in tempeh starter powder; your tempeh mixture is now ready to be bagged.
- Place the bean mix in a punctured plastic bag that is 10 ½" by 10 ½" for a tempeh that will be ½" (1 cm) thick.
- On a dehydrator tray with screen or other flat object, lay down your bag of beans and press down firmly, evenly distributing the mixture.
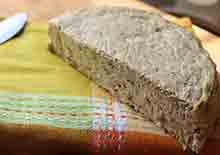
- Incubate until a white solid tempeh block is produced, usually between 24-36 hours.
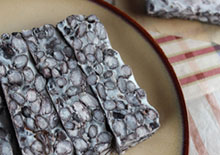
- Cut open your bag and place tempeh on a chopping board and slice into meal-size squares or use a cooker cutter to make rounded tempeh burgers.
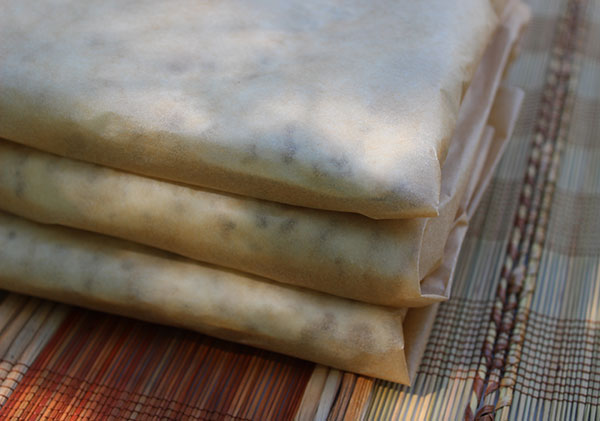
We like to wrap our tempeh in wax paper and store it in the fridge or freezer in an air tight container. It is good to let the tempeh cool slightly before wrapping it up as condensation may develop.
When preparing tempeh, it is tastier in our opinion to heat it first as opposed to eating it straight.
For more recipes on other types of fermented foods, visit our fermented food recipes page.
Precautions:
Tempeh should be avoided by people sensitive or highly allergic to molds or allergic to certain legume varieties.
Shop Related Products (About Affiliates & Amazon Associate Paid Links)
Affiliate Disclaimer: This section contains affiliate product links. If you make a purchase through our recommended links, we receive a small commission at no additional cost to you. Thanks for the support.

