- Home
- Fermented Food Recipes
- Sauerkraut Recipes
Sauerkraut Recipes, How to Make Sauerkraut: The Basics
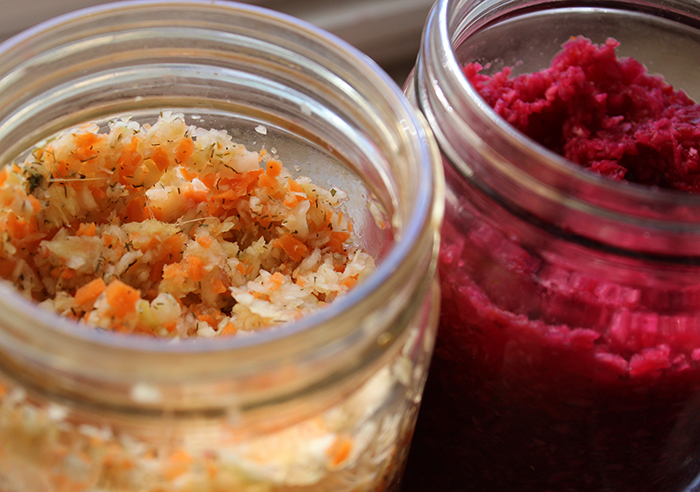
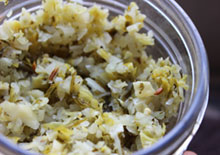
Making your own sauerkraut or "raw cultured vegetables" is a great skill to have if you’ve adopted this fermented food as a frequently eaten condiment. Here we will share two delicious beginner recipes for those of you, like us, who prefer the benefits of homemade versions over store bought varieties.
Although the idea of making your own from scratch might seem a little intimidating at first, we are here to guide you through what is really a very simple process.
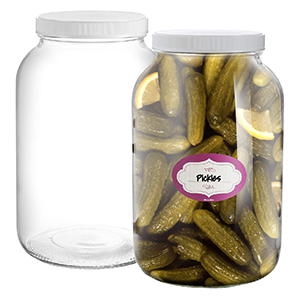
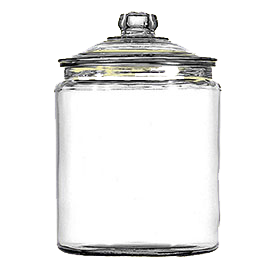
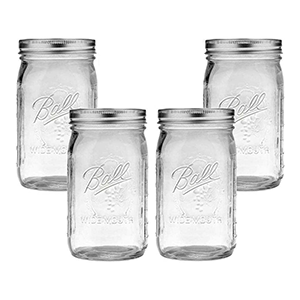
The great part is that you don’t need to go out and buy a bunch of special tools or equipment. A basic quart size glass jar and food processor is all you need to successfully make and pack your ingredients. Alternatively, you can also grate and chop your cabbage and vegetables if you don’t happen to own a food processor.
The sauerkraut recipes below are quick ferments of between 4-10 days, depending on how you like them. We personally culture ours for at least 7 days which produces a well-developed perfectly pickled sauerkraut that is extremely nutritious as well as delicious.
Why Make Your Own Sauerkraut?
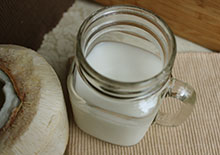
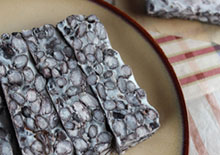
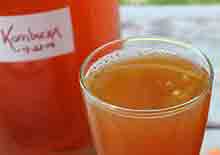
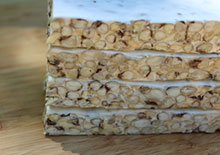
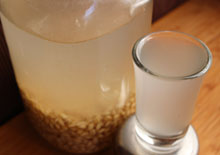
We are "make it homemade" kind of people and also enjoy culturing other foods and drinks such as tempeh, kombucha, miso, seed cheese and rejuvelac.
Generally, homemade sauerkraut's commonly have greater amounts of friendly flora and enzyme content because they are not intended to render a uniform mass-produced product. Preparing raw cultured vegetables, by the quart or gallon, is additionally a good way to ensure you have plenty on hand and is much more cost effective than buying expensive commercial brands.
Custom-made sauerkrauts also give you the freedom to use whatever raw veggies and spices you want to include for personalized taste and/or specific health goals. Although we recommend starting out with a basic recipe to begin with, there is a lot of room for creativity and producing your own unique blends as you learn the process.
Another benefit to making your own is that you get the option of fermenting them for longer periods of time. Sauerkraut, when kept at cooler temperatures between 55°-65°F for over a month, can develop deeper flavors and provide increased health benefits. In many parts of Asia they customarily bury 5-10 gallon crocks in the ground for several months or even up to a year.
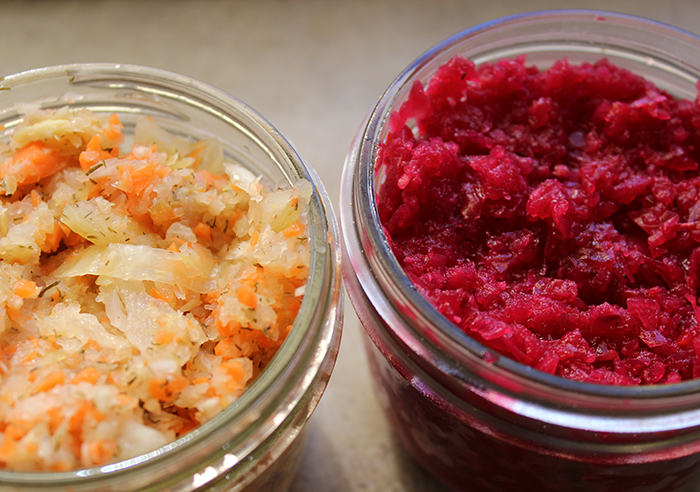
Making sauerkraut can be a fun and artistic endeavor that you may wish to share or create with a friend or group of friends. In many traditions around the world, there are ritual seasons or moon cycles when groups gather to make their fermented vegetables for the entire year.
Visit our page on the top 3 benefits of sauerkraut and more reasons to eat it.
Ideally, you want an indoor temperature of about 70°F for
short ferments. This can be regulated by keeping your jars in a
sanitized empty cooler or ice chest of some kind. But, cupboard spaces
also work quite well if your pantry or kitchen atmosphere remains fairly
stable at between 67°-72°F.
Beyond the Basic Recipes
As many of you may know, sauerkraut is one of our favorite fermented foods and we have become quite good at making it over the now 20 plus years (time flies) of chopping, grating and dicing. First we began with these two basic sauerkraut recipes, which may be all you really need for your own personal tastes or health goals.
But, for those of you who like to play around in the kitchen with cultural flavors and spices there are many more possibilities for expanding your cultured vegetable recipe repertoire.
The Best Way to Make Sauerkraut
The Brining Technique
The #1 best way to make sauerkraut for optimal results and flavor is to make sure your veggies are packed to the top in brine liquid.
A brine is a liquid combination of natural juices, pure water, sea salt and culture starter. It is often added to protect the vegetables from the unwanted aerobic organisms that can grow on the exposed surfaces. The brining technique ensures your sauerkraut veggies are submerged under liquid that basically protects them from air flow and possible contaminants.
After your sauerkraut is firmly pressed down and packed into the jar, the amount of brine liquid should cover your ingredients.
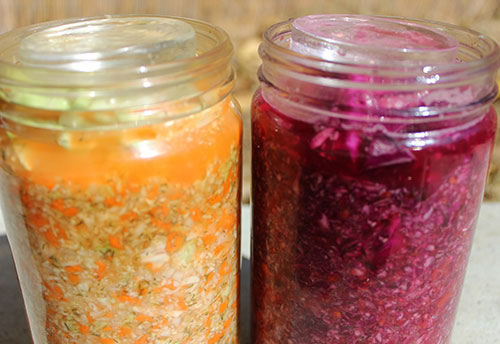
Using a Weight
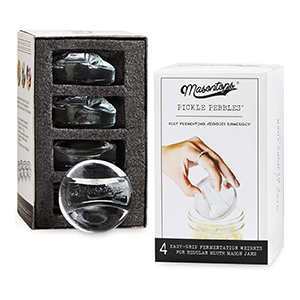
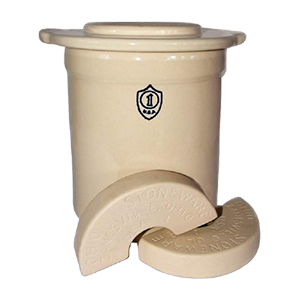
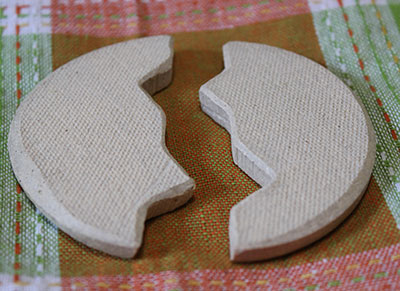
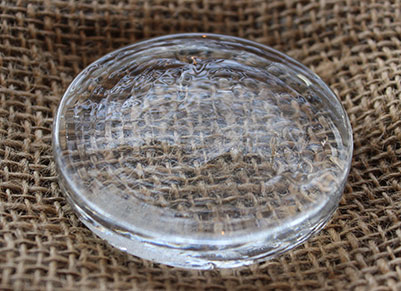
Sometimes it is necessary to use a heavy weight on top of your cabbage leaves. These are often referred to as "crock rocks." They can be purchased in the form of glass or ceramic weights specifically designed to fit wide mouth mason jars or you can alternatively use a sanitized heavy rock or a jar filled with water.
Types of Weights or Crock Rocks
Glass weights specifically designed for glass jars.
Ceramic weights that split in half to fit easily.
A thoroughly sanitized rock that fits inside the jar opening.
A jar filled with water or other heavy object.
This is to make sure your vegetables remain submerged underneath the brine liquid, as they sometimes tend to float to the top, leaving the brine juices at the bottom of the jar and the ingredients exposed to air. Weights keep your veggies protected from oxidation and a white sediment that sometimes forms on the surface. It is not always required, however, if your kraut is packed in tight.
Although some people never use weights, we like to use them to ensure an oxygen-free fermentation space, which is the best possible environment for culturing your sauerkraut.
It is always a good idea to check your sauerkraut after one or two days to make sure it is adequately covered in the brine juices. If not, you can always add more water or use a weight if you are not already using one.
How Does Fermentation Work?
Most all fruits and vegetables have naturally occurring Lactobacillus present on their surfaces and these organisms convert sugars into lactic acid, undergoing a process called lacto-fermentation when cultured.
In a nutshell, you are taking fibrous raw vegetable material, breaking it down and allowing it to ferment in its own juices or brine solution. As the acid level of the ferment becomes higher this allows for various strains of friendly flora to proliferate and additionally protects it from unfriendly organisms.
The pH level continues to lower as any remaining proteins, sugars and starches are fermented by various strains of friendly microbes (Lactobacilli). This phase improves flavor significantly by removing acidity and/or bitterness present at the previous stages and, when consumed, provides an alkaline food rich in enzymes, vitamin C and, of course, lots of beneficial microflora for a healthy digestive tract.
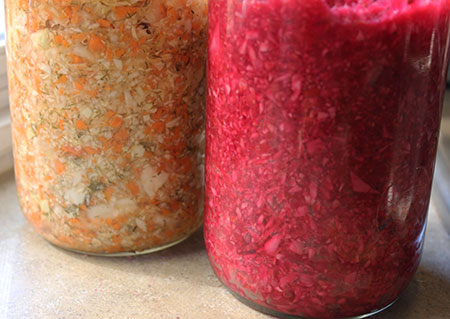
The Sauerkraut Recipes
The process of making cultured raw veggies or sauerkraut is simple and easy and can be accomplished by most anyone with the desire, motivation and some basic kitchen tools.
It is always very important to remember to keep everything as sterile as possible, washing all jars, bowls and knives in soapy hot water before using them. In addition, never place tight lids on your fermenting jars of sauerkraut as carbon dioxide will build up and may cause possible explosive reactions.
Basic Sauerkraut Recipe
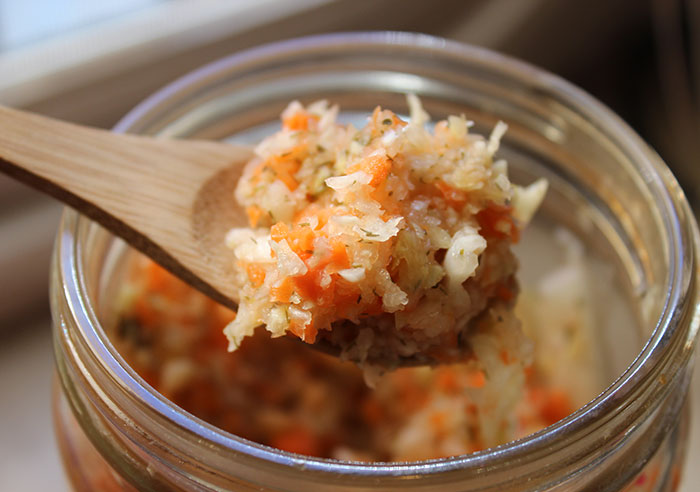
Ingredients:
- 1 small head of green cabbage (or half a med head)
- 3 leaves of chopped Napa cabbage
- 3 med carrots
- 1t minced peeled ginger root
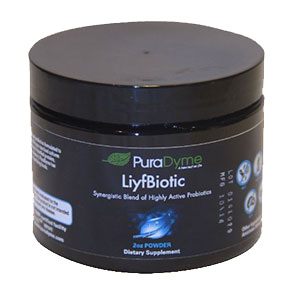
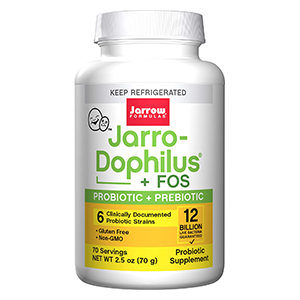
- 1/4t culture starter or probiotic powder
- 1T dill weed
- 1/2t Celtic sea salt
- 1/2 a lemon (juiced)
- 3/4C filtered water (or more if necessary)
Directions:
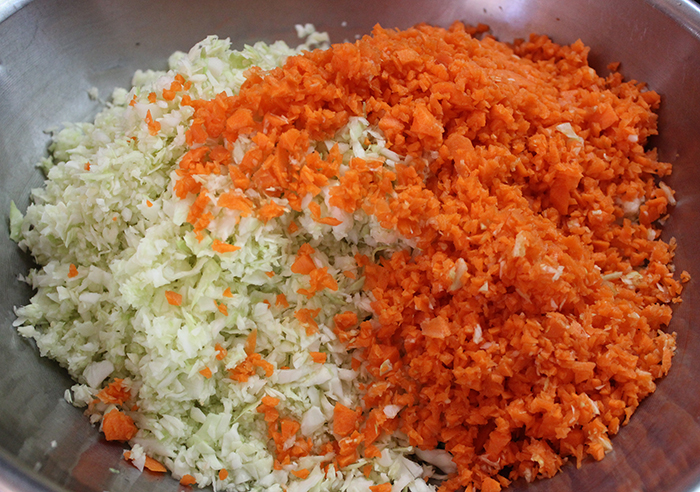
- Core and chop green cabbage and place in food processor.
- Process until fine and moist.
- Place in large bowl.
- Next add carrots to processor.
- Process until fine and moist.
- Add to bowl of cabbage.
- Chop 3 leaves of Napa cabbage.
- Add to bowl and mix all ingredients with ginger and dill weed.
Making the Brine:
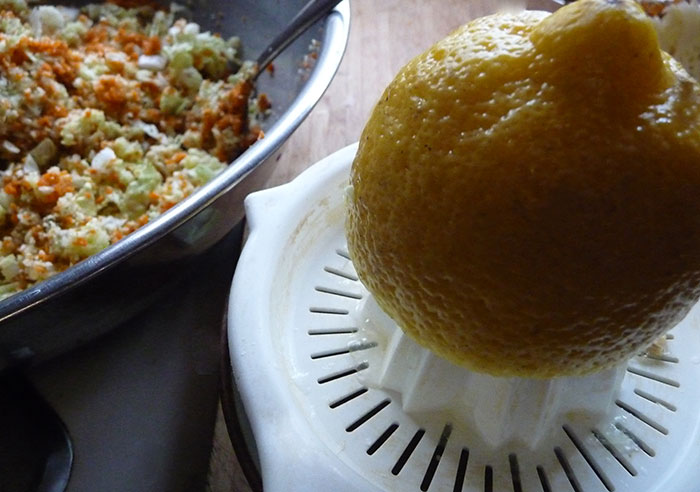
Take 1/4C of your processed veggie mix and create a brine (in a blender or food processor) using the water, sea salt, culture starter and lemon juice.
Thoroughly mix the brine in with the remaining vegetables with a utensil or clean hands. Let it sit covered in a bowl for 15 minutes. This is your kraut ready to be packed!
Packing the Jar
- Pack a quart size jar full of the sauerkraut mixture.
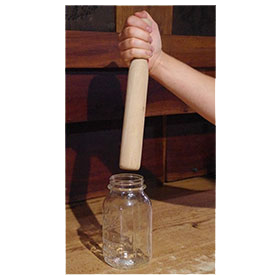
- Push down with the back of your clean hand or other kitchen utensil.
- Leave a few inches at the top of the jar.
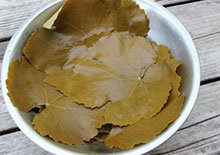
- Pack a few thick cabbage leaves on top and place a crock rock weight on top (if you are using one).
- Place a plastic lid loosely on the jar or use a mesh lid covered with a cloth.
- Let sit and ferment for 4-10 days at 67°-72°F.
We like to ferment ours for 7 days, but it all depends on how you like it. It is a good idea when you are new to raw cultured vegetables to taste test after day 4 or 5.
The general rule for fermentation time is:
1) If colder temp----longer ferment time
2) If warmer temp----shorter ferment time
3) Somewhere between 4 and 10 days (depending on personal taste preferences)
Remove the cabbage leaves and some of the top layer, if needed, after the fermentation process is complete. Sometimes the top of the sauerkraut, if exposed to air, does not ferment and is a "dingier" color compared to the rest of the mix below it. This is not usually the case when you use a weight, but if so this portion can simply be discarded.
The texture of your sauerkraut should be soft (but not mushy) with a tangy taste that is slightly sweet.
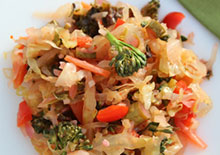
Salsa Sauerkraut Recipe
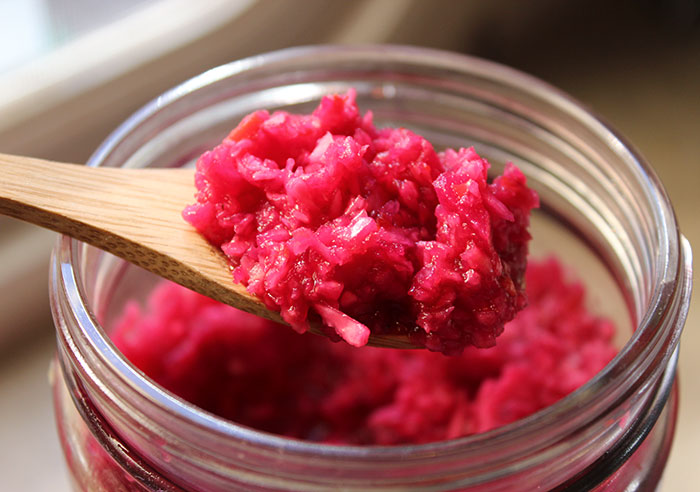
Ingredients:
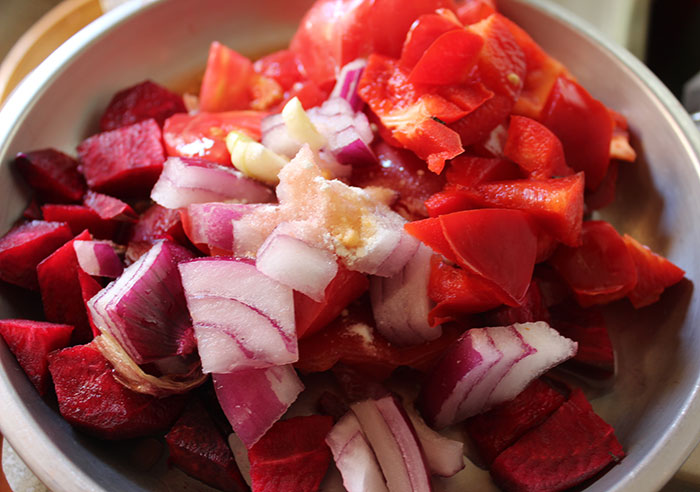
- 1/2 small purple cabbage
- 1C chopped tomatoes
- 1/4C chopped onion
- 1/2 clove of garlic
- 1/2C beet (peeled)
- 1/4C chopped carrot
- 1/4C chopped red pepper
- 1/8t culture starter or probiotic powder
- 1t Celtic sea salt
- 1/4t cayenne pepper
Directions:
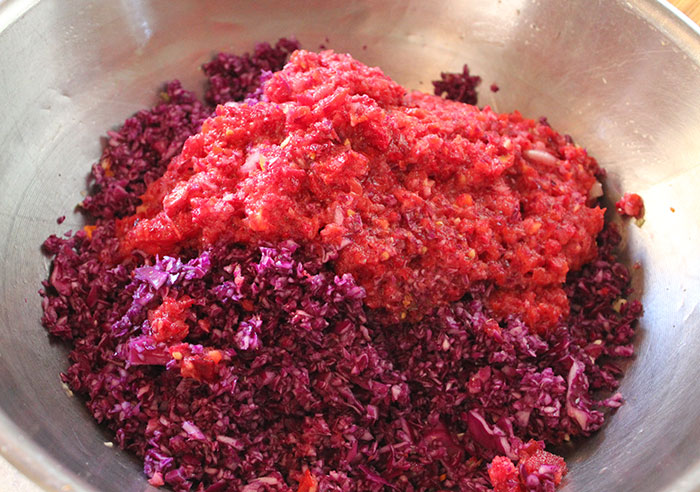
- Core and chop purple cabbage and place in food processor.
- Process until fine and moist.
- Place in large bowl.
- Next add tomato, onion, beet, carrot, garlic red pepper, cayenne, sea salt, and culture starter to processor.
- Process to desired salsa-like texture.
- Add to bowl of cabbage.
(The salsa replaces the brine in this recipe.)
Packing the Jar:
- Pack a quart size jar full of the sauerkraut mixture, one or two cups at a time.
- Push down with the back of your clean hand.
- Leave a few inches at the top of the jar.
- Pack in some thick cabbage leaves to completely cover the mix and place a crock weight (if you are using one).
- Place a mesh lid (with cloth) or a loose plastic lid on top. (Never screw lids on tight as your jar may explode from carbon dioxide pressure build up.)
- Let it ferment in a cool dark place for 4-10 days at 67°-72°F.
Because of the extra sugar content in this recipe it may only take between 4-6 days to ferment. Taste test it after day 4 or 5 and see how you like it.
After your sauerkraut’s are done and ready to eat you should refrigerate them with a non-metallic lid as the acid content may react with and corrode certain metals, like aluminum. Colder temps below 40°F prevents and stops the fermentation process.
You can make them without salt, lemon or even culture starters. We use added cultures in our fermented food recipes because they help to protect and inoculate the veggies during the beginning stages of fermentation, but they are not totally necessary.
As discussed, there are naturally occurring Lactobacillus cultures present on most vegetables, especially cabbage. When kept at appropriate temperatures they will quickly proliferate your veggies and begin the lacto-fermentation process.
Can Sauerkraut Recipes Go Bad?
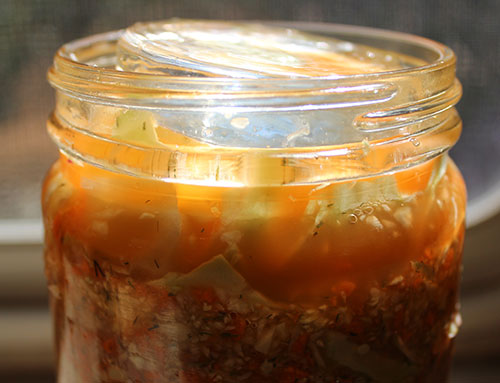
Yes, sauerkraut ferments can go bad. However, this is extremely rare, but can occur and, in certain environments and climates that are not conducive to the growth of beneficial bacteria, you can get spoilage. This usually occurs if the atmospheric temperature exceeds 80°F (especially for an extended period of time).
This means your kraut will SMELL BAD as well as LOOK BAD and other "not so friendly" bacteria have taken over your ferment. Often times this happens when your equipment has not been washed properly, along with a combination of higher fermentation temperatures.
The color will often have a brown, dingy look to it and the texture is usually slimy in nature. It WILL BE obvious. Always use your intuition and throw it away if necessary.
But, that being said, remember that all sauerkraut has a strong pickled scent and can be especially potent when you use garlic or other pungent ingredients. In addition, all sauerkraut’s change in color from the original pre-packed vibrant, fresh look and will be slightly duller looking after they are cultured.
Surface Mold or "Scum"
"Sometimes mold appears on the surface. Many books refer to this mold as “scum,” but I prefer to think of it as a bloom. Skim what you can off of the surface; it will break up and you will probably not be able to remove all of it. Don’t worry about this. It’s just a surface phenomenon, a result of contact with the air. The kraut itself is under the anaerobic protection of the brine." Sandor Katz (*)
Using Vessels with Air Locks
Some of you avid sauerkraut recipe maker's might like to
purchase, at some point, a special professional fermentation crock
designed specifically to make homemade sauerkraut.
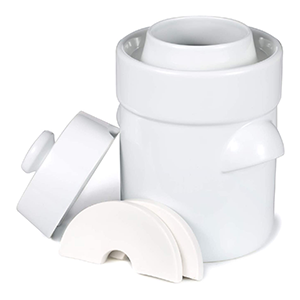
These are ceramic vessels (1 to 5 gallons or larger) that come with weights and air locks. We recommend these for anyone particularly sensitive to yeasts/molds or those interested in fermenting your veggies for longer periods of time.
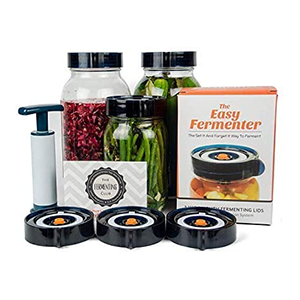
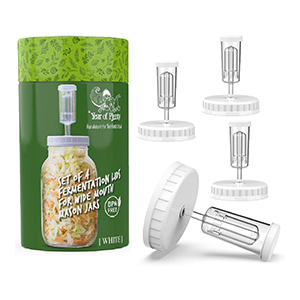
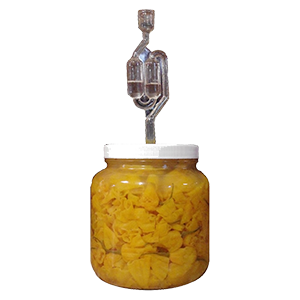
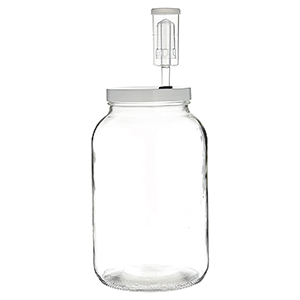
Another less expensive option is to purchase a pickling device made especially for raw cultured vegetables. These are tubes attached to a lid the size of a wide mouth mason jar and include an air lock that releases carbon dioxide but prevents oxygen from entering the jar.
How to Eat Your Sauerkraut
We enjoy eating these sauerkraut recipes all by themselves as a snack food. A small portion works well when you get cravings for those "less than healthy" sweet or salty treats. Typically, sauerkraut eater's use it as a condiment with meals.
It is a great food for those with candida overgrowth to help balance microflora in the body and intestinal tract.

